The weighing gauge allow to
weigh objects (object
image) : ![]()
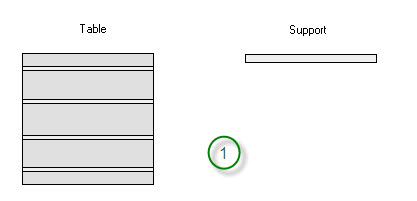
This object only can placed on :
Note :
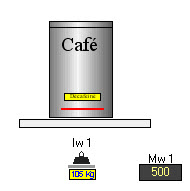
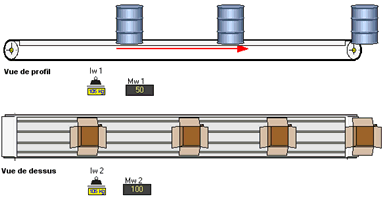
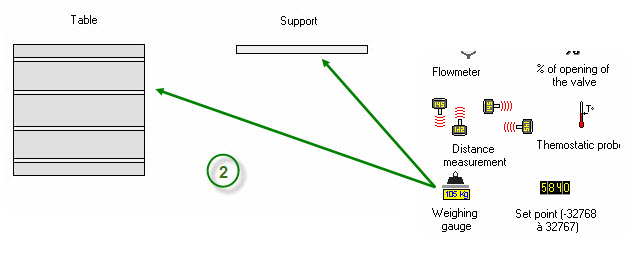
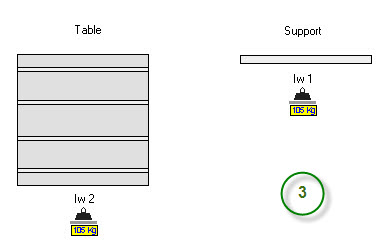
You can place several weighing gauges. The weigth shown by every gauge is function of the gauges number.
By exemple, for one object of 100 Kg, if you place 2 weighing gauges, that shown 50 Kg on every one.
The configuration of one weighing gauge
As the configuration page shows, these input objects always behave in the following manner :
From measurement to the electrical value and to the automaton acquisition
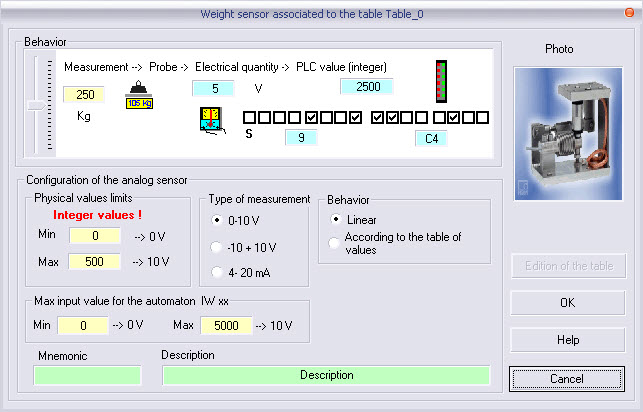
The user must set the values :
the physical limits of the measurement or of the set point value (e.g. from 5 cm to 300 cm , from 0 % to 100 % for a set point value) ;
the standard type of acquisition card (from 0V to 10 V, From -10V to +10 V, from 4mA to 20mA) ;
the limits of the acquisition card of the automaton (limits of the word processed by the automaton) ;
the fields of mnemonic and of description are not absolutely required.
An info-bubble shown in the RUN mode gives the following information separated by a comma :
physical quantity ;
electrical value ;
automaton data value.
![]()
See also : Analog inputs
Example : placement of a weighing gauge on a table of transfert or on a support.
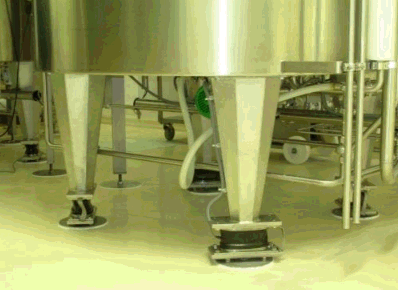
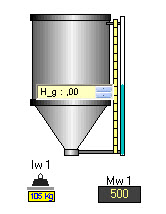
Note : the same procedure to place one or several weighing gauges on a tank.

In creation mode, a right click opens the contextual menu for sensor editing.
